Strikingly Easy Toe Nail Designs
Strikingly Easy Toe Nail Designs
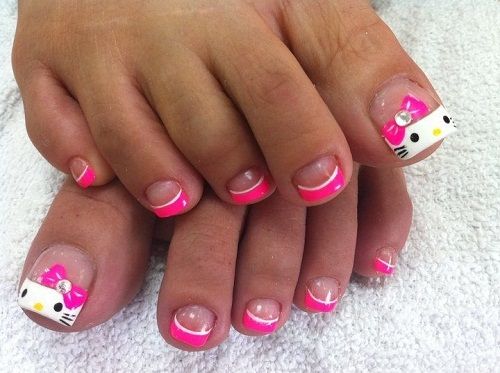
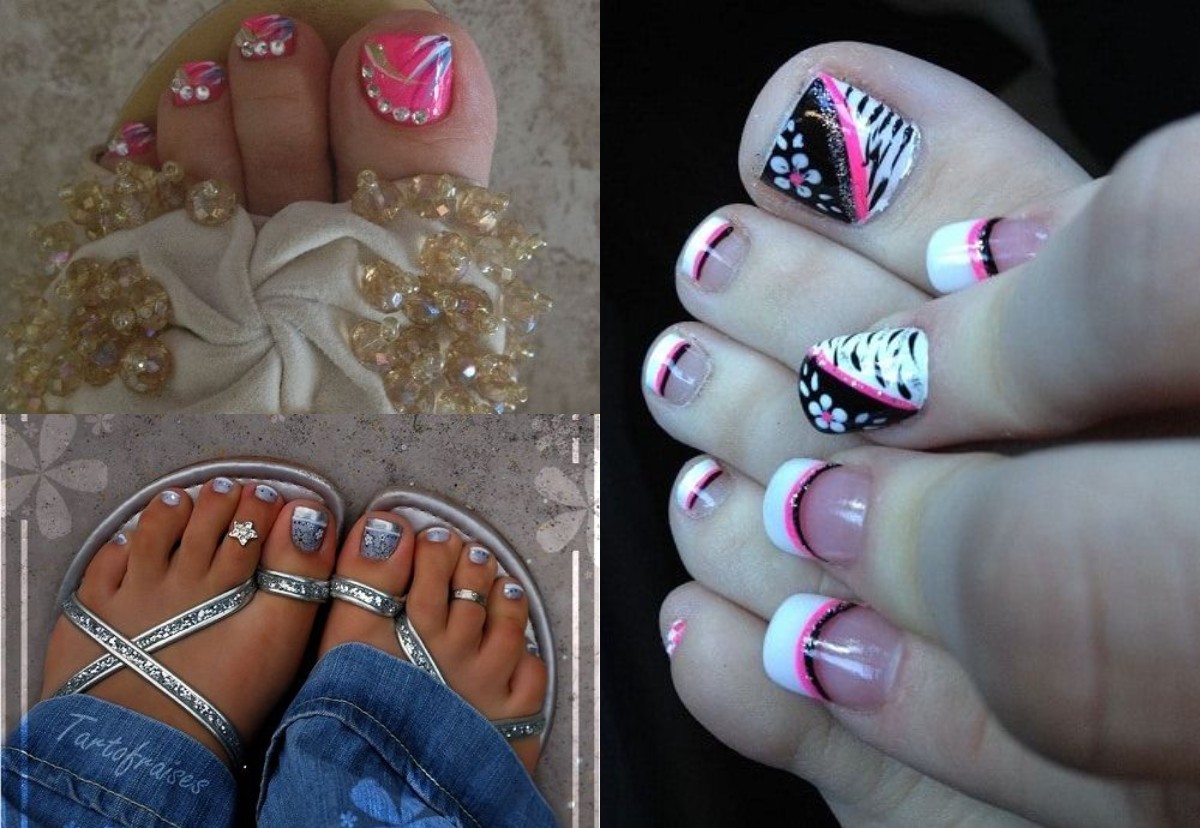 Toe-nail designs have been popular since the dawn of time. Many people do it on their own or visit renowned shops to have their nail art. Either way, when summer comes everybody wants to look their best again and shows off their most complicated yet cute toenail designs, both shellac or regular toenail polishes. We have gathered the best tips and tricks for you, and inspirational toenail designs so you’re ready when you need to be.

 Learning Nail Art Tips and Tricks
Everyone knows that not all people are professionals when it comes to creating nail art. Hence, many people are eager to learn about toenail design and nail art tips and tricks.
Doing your toenails is part of fashion and hygiene, hence, it must be treated with the same care and meticulousness as the hair and outfit. Keeping the nails nice is an indication that you know how to take good care of yourself. However, there are times when people want to spice up their nails a bit; you can do this through nail art.
Here are a few tips and tricks to get you started:
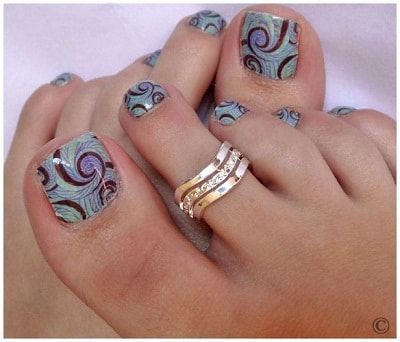
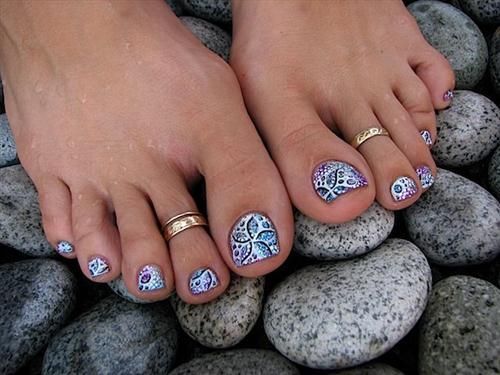
Use plastic wrap for marble nails that can be done within minutes. The first step is to paint the nails with a base color. Before moving on to the next step, be sure that the base paint is fully dried. For each nail, apply a second coat of nail polish. Do this one nail at a time; after each nail, grab a crumpled piece of plastic wrap and blot the top of the nail once or twice. The marble effect is going to be created because the sticky wrap is going to touch the wet polish. If too much polish is pulled, add a little more color and dab it again with plastic wrap. Continue with all other nails.
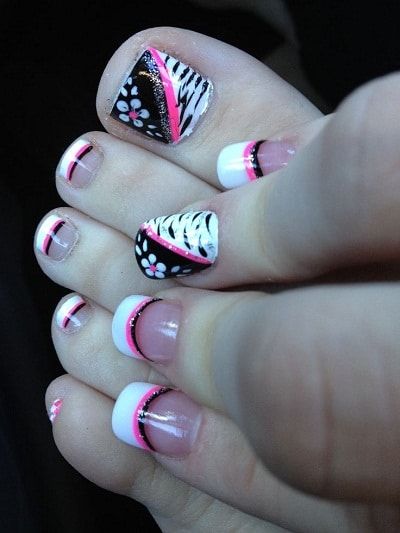
Use a Ziploc bag and simply draw a toe-nail design on it using nail polish. Let this dry overnight. After that, peel the designs off, stick them directly on the nails, and cover immediately with topcoat. To be able to create clean and beautiful designs, use a sharpie marker to outline the design before painting it on the Ziploc. Be sure that the designs are small enough to fit the nails and use estimation to know if it fits.
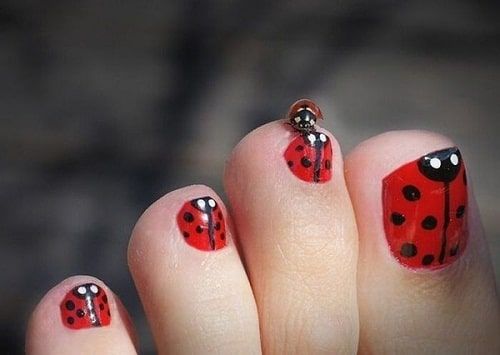
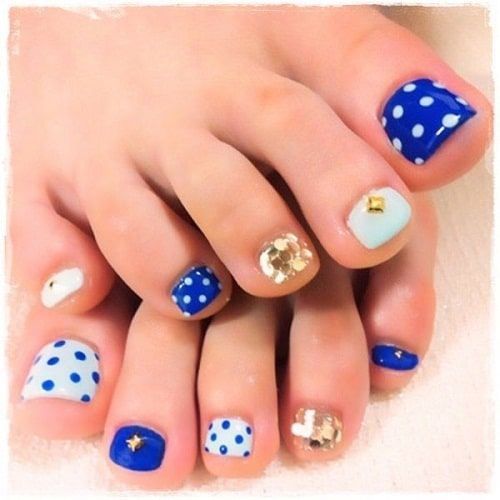
Many nail art designs are not complete without polka dots. Nevertheless, everyone knows that polka dots are very hard to do. Hence, one nail art tip is to use dotting tools. These dotting tools can be any household things such as needles, bobby pins, and other pointy tools. One idea is to push a straight pin into the butt of a pencil or the end where the eraser is located. A toothpick can also be used to create small polka dots. The size of the polka dots depends on the polka-dotting tool.
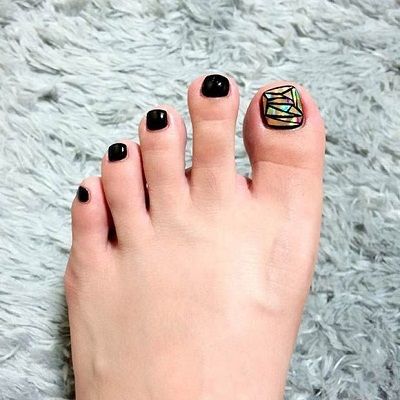
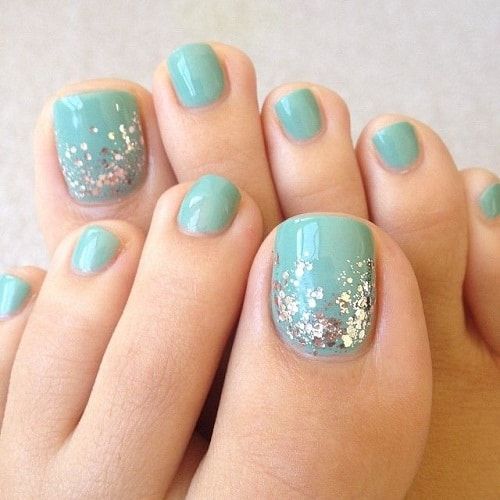
For the ombre effect, mix two of the chosen colors on a surface where it can be easily cleaned using a toothpick. Then use a makeup sponge, dip it in the color mixture, and dab it on the nails.
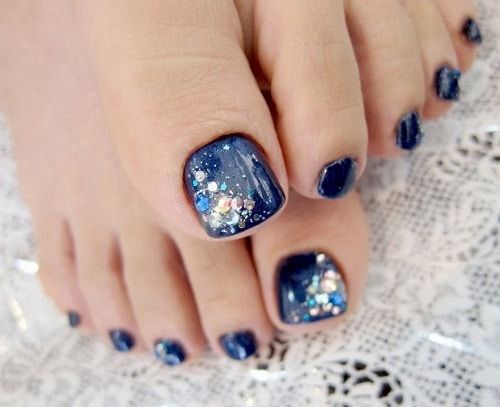
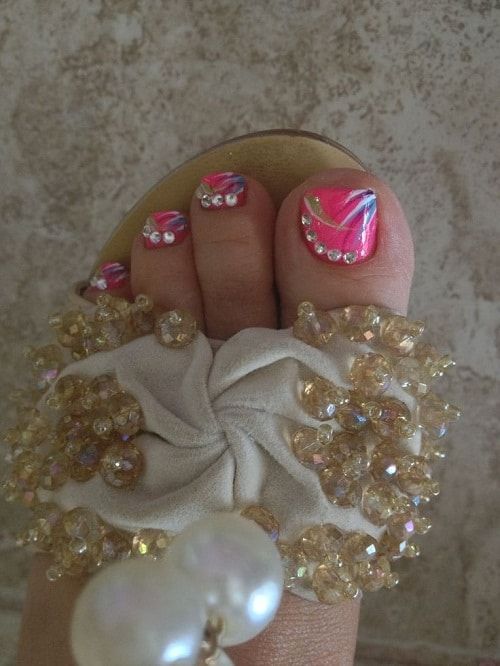
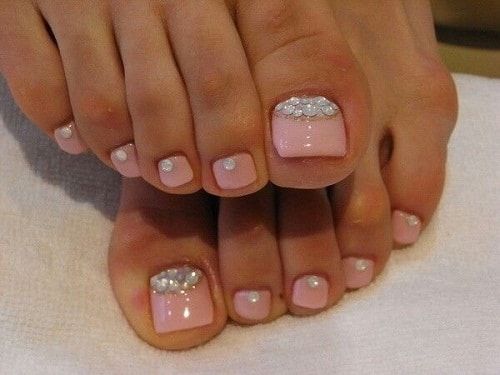
For people who want a little bling, they can use a waxy pencil like an old lip or eyeliner to pick up and place rhinestones on the nails. Toothpicks with blue tack on the end can also be used. This can help a person pick up and place the rhinestones.
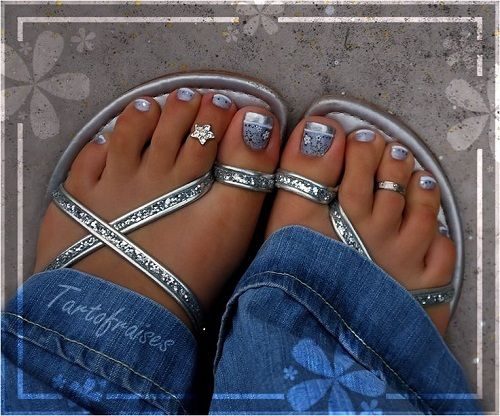
Toe Nail Designs Inspirations are Amazing
Learning these toenail designs and nail art tips and tricks is essential to be more fashionable. Having awesome nails completes an awesome outfit. In addition, having good nails shows much about hygiene.